Moldmaking
|
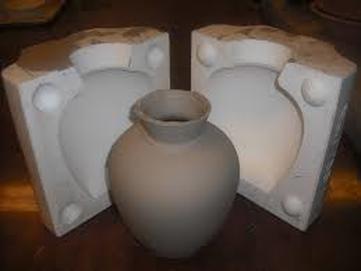
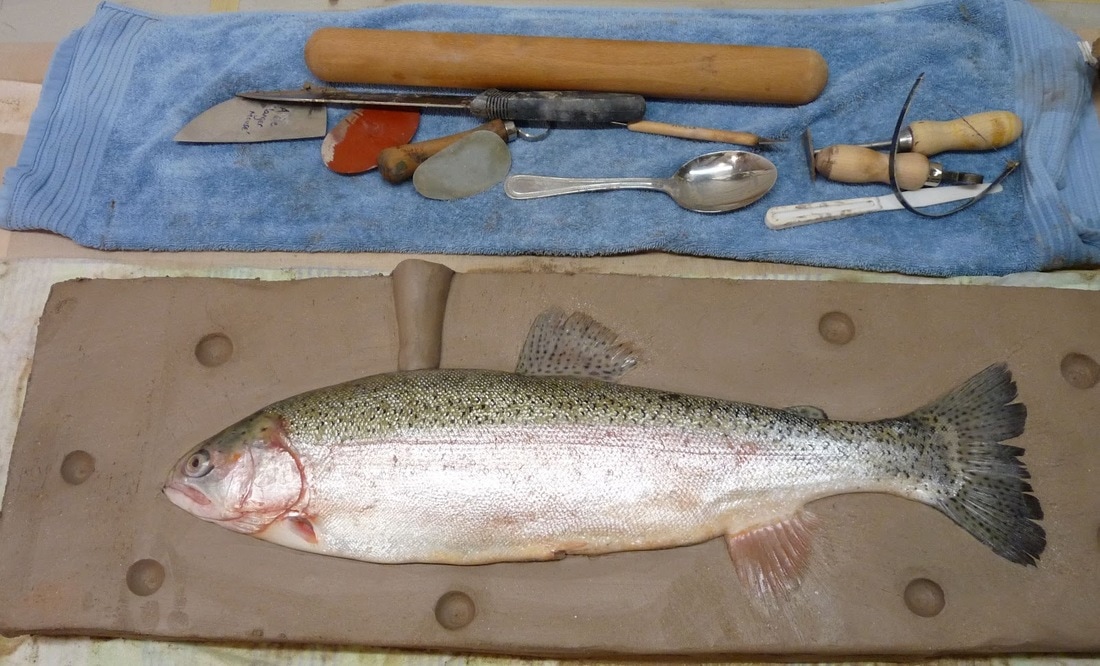
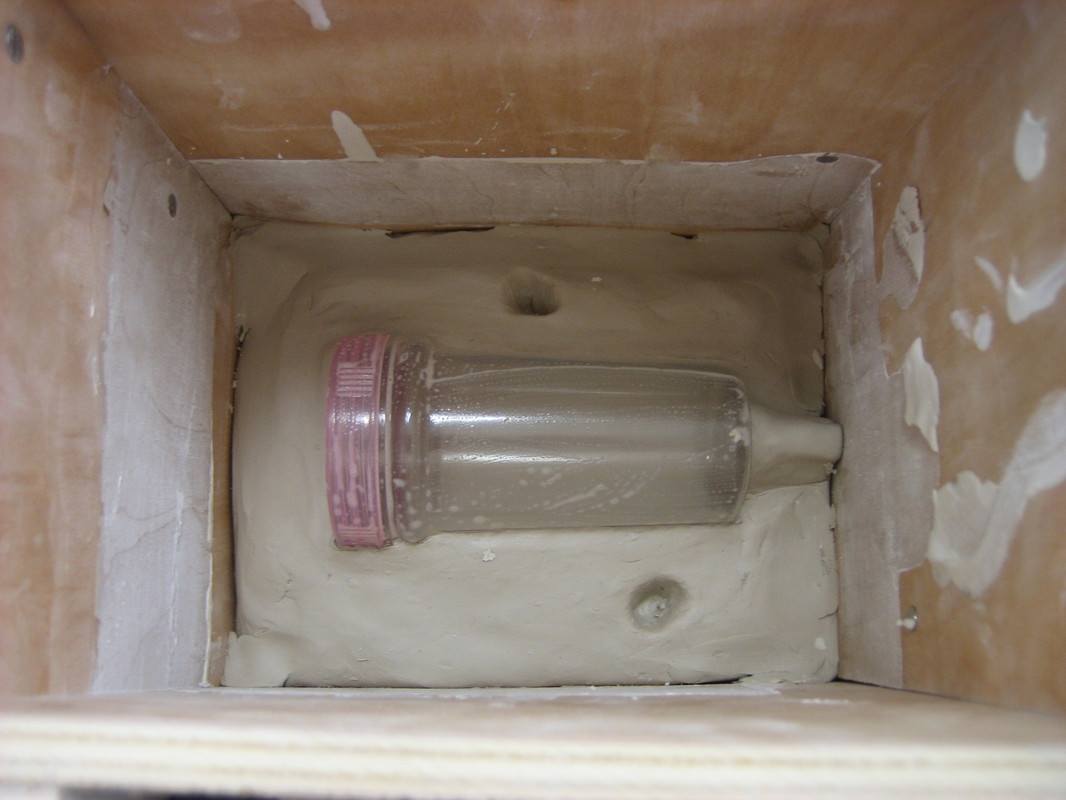
In this project you will start by creating a 2 piece plaster mold of a clay sculpture or a found object that is free of Undercuts!
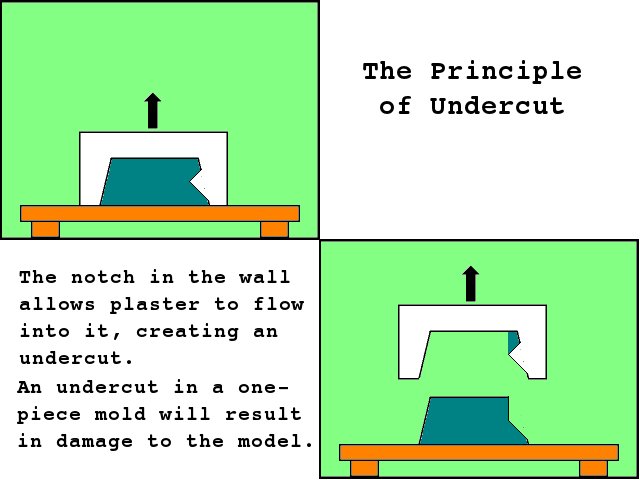
Undercuts:
|
|

|
|
|
|
Watch the video above
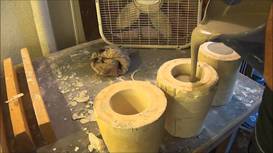
Some important stuff to remember Determining the volume: Measure the length, width and depth multiply them together and round up. Divide volume by 40 to get your water weight in lbs. use warm water 2lbs of water to 3lbs of plaster is your formula Add your plaster to the water Release clamps after a 1/2 an hour Don't forget to use mold release soap between the the 1st piece and the 2nd piece otherwise your mold will be stuck together. |
|
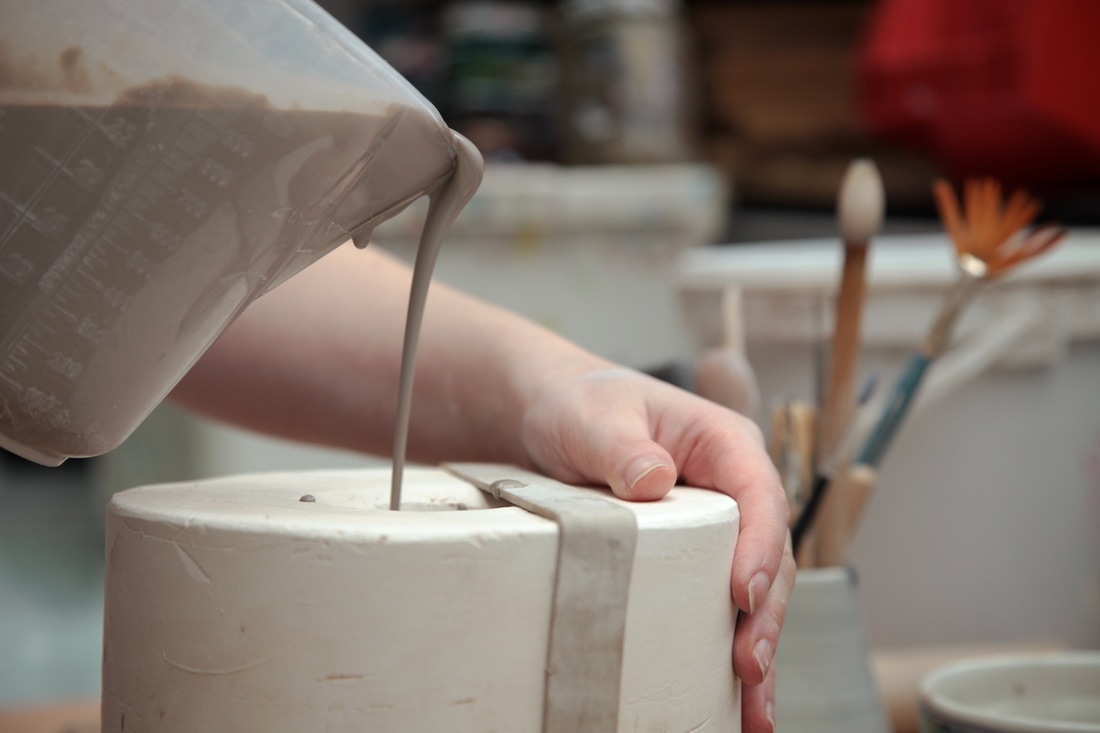
Slip-Casting
After completing your two part mold you will then be able to cast your sculpture. For our casting purposes we will be using slip (There are many mediums that you can cast in I.E. Slicone, Metal, Wax, Plaster Etc.)
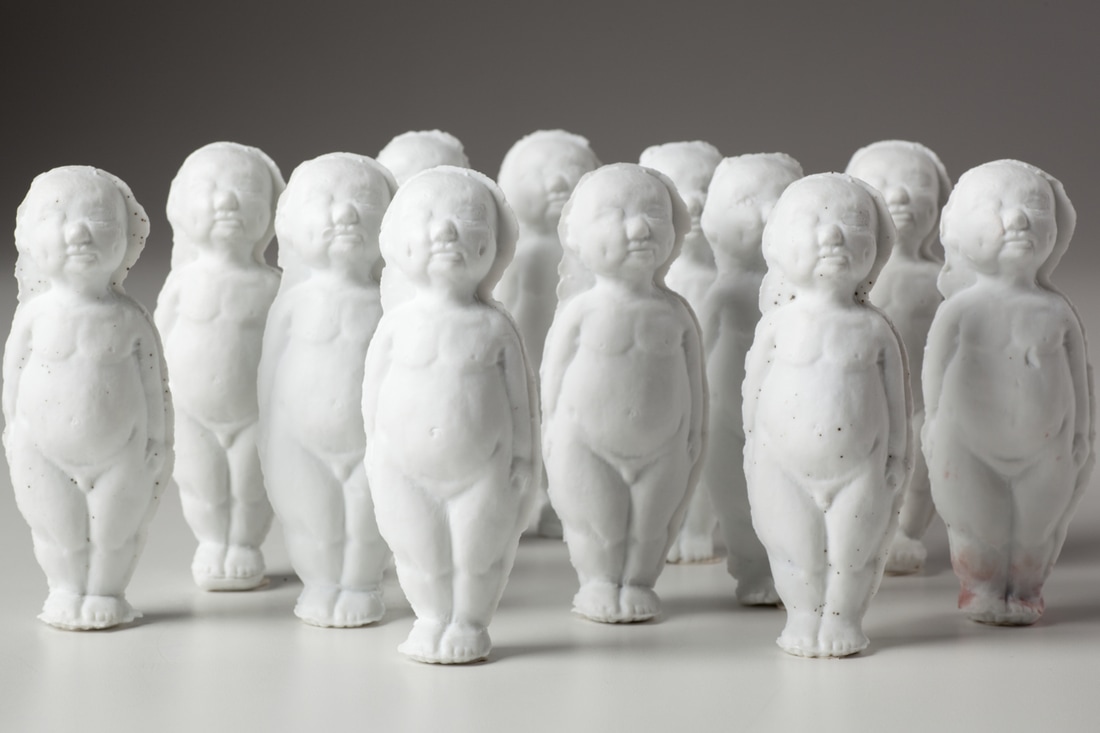
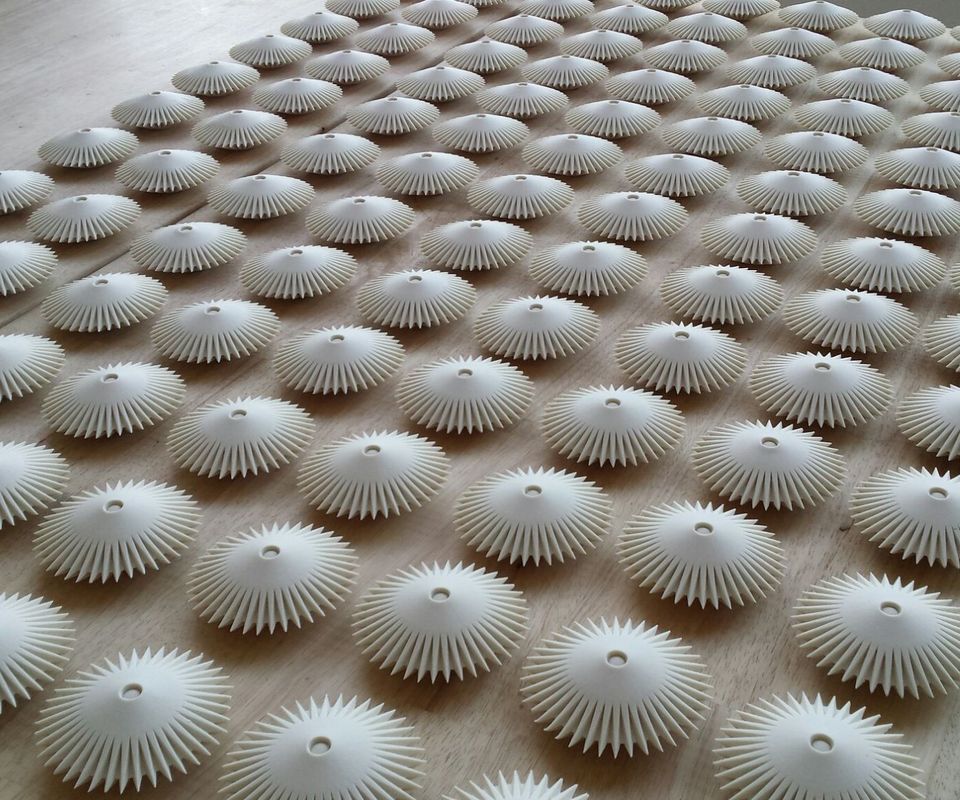
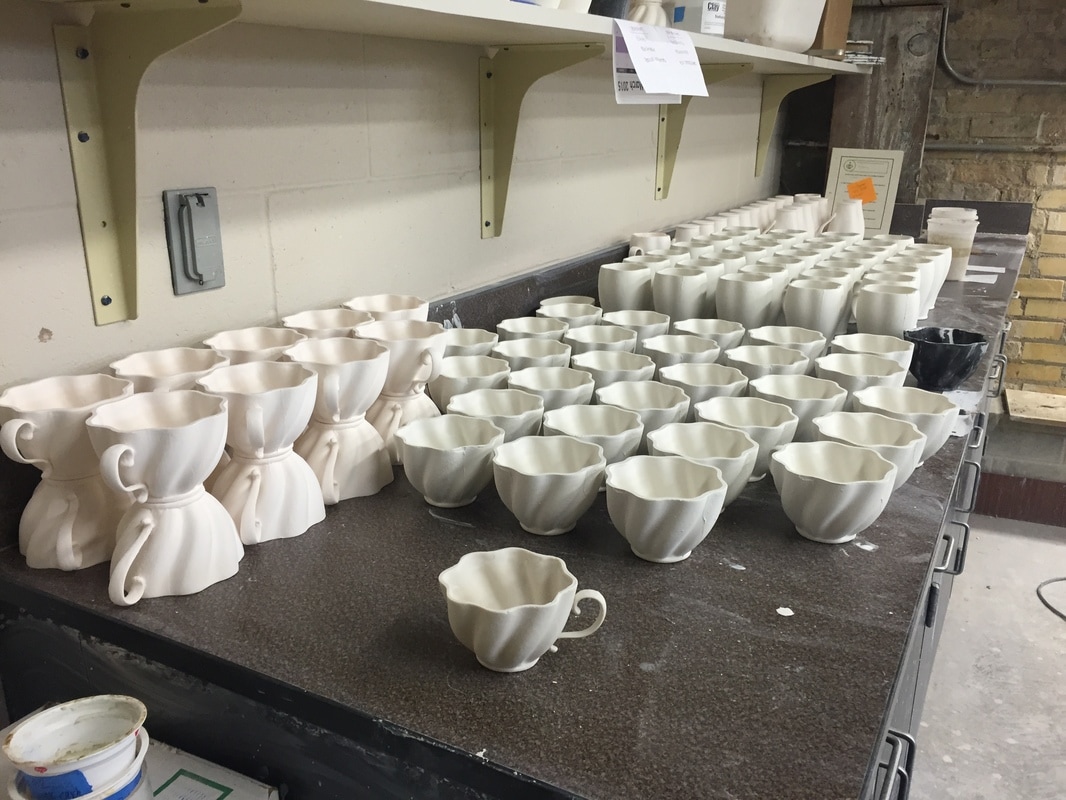
You will be required to complete Five Castings of your sculpture, They can be combined in the end!
When slip casting you will pour slip into the mold until it is full, keep filling if level is dropping.
Wait about 20 minutes before pouring the slip out of the mold.
Leave in the mold until the next class.
|

|
|
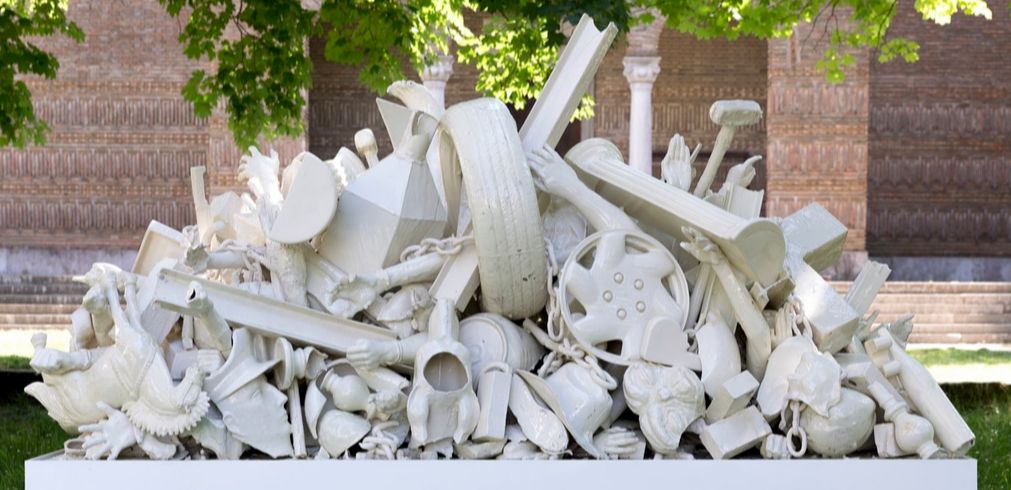
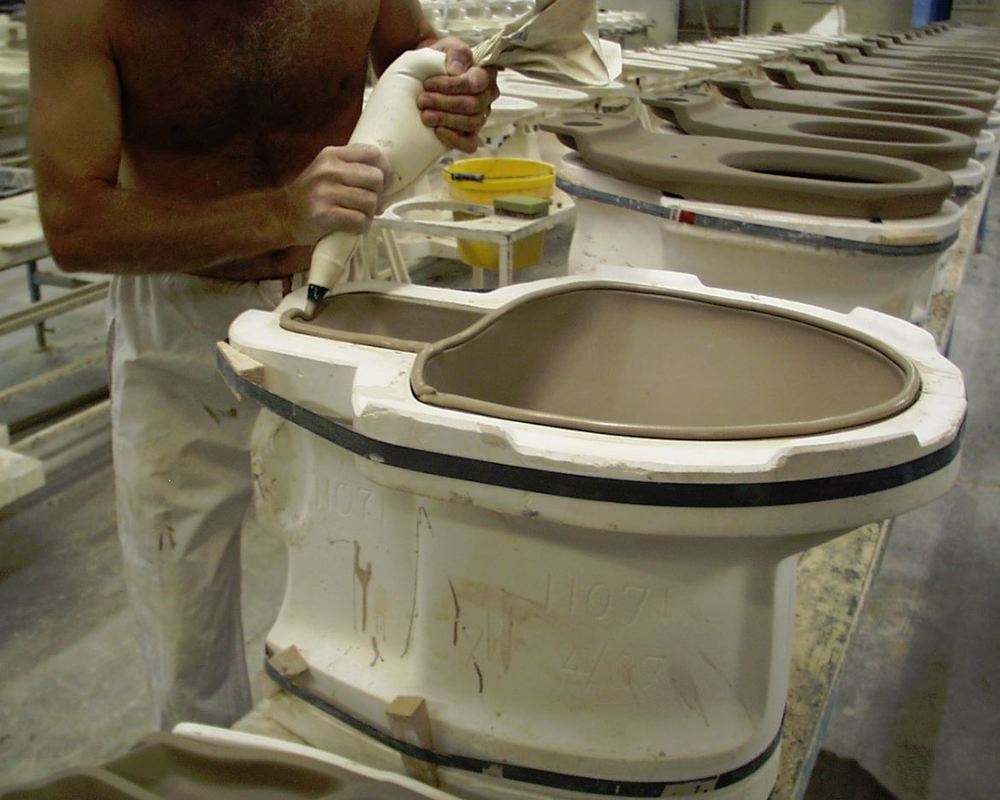
In case you were wondering, Yeah this is toilets are made.........
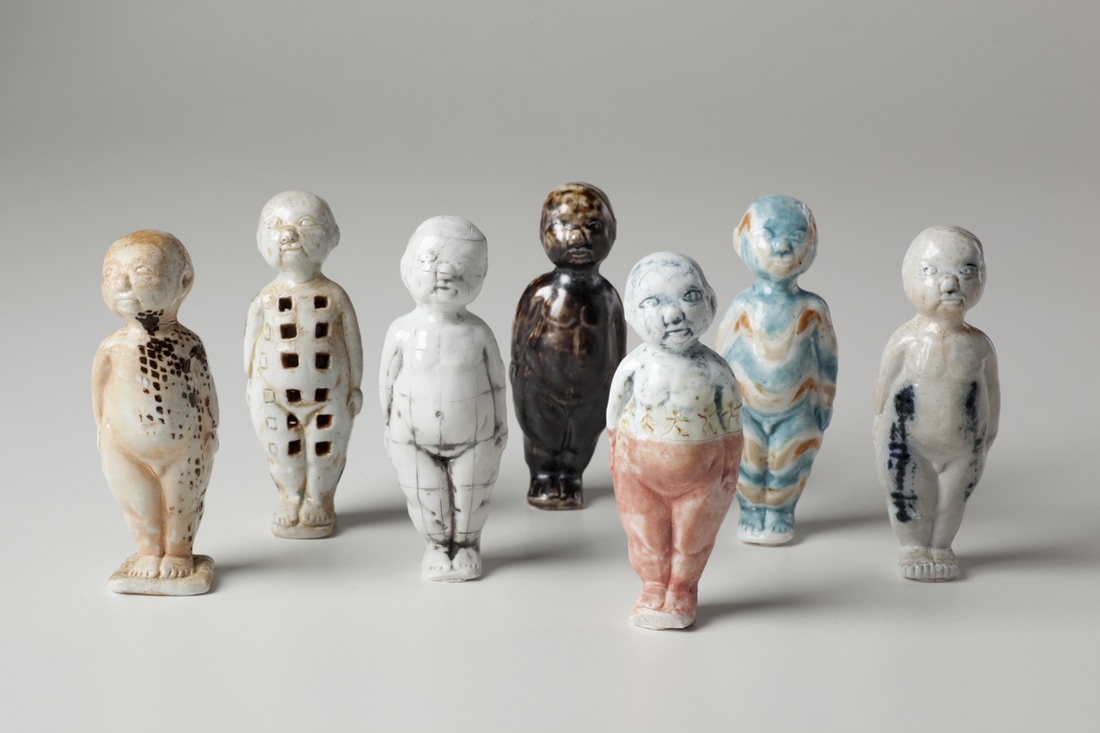
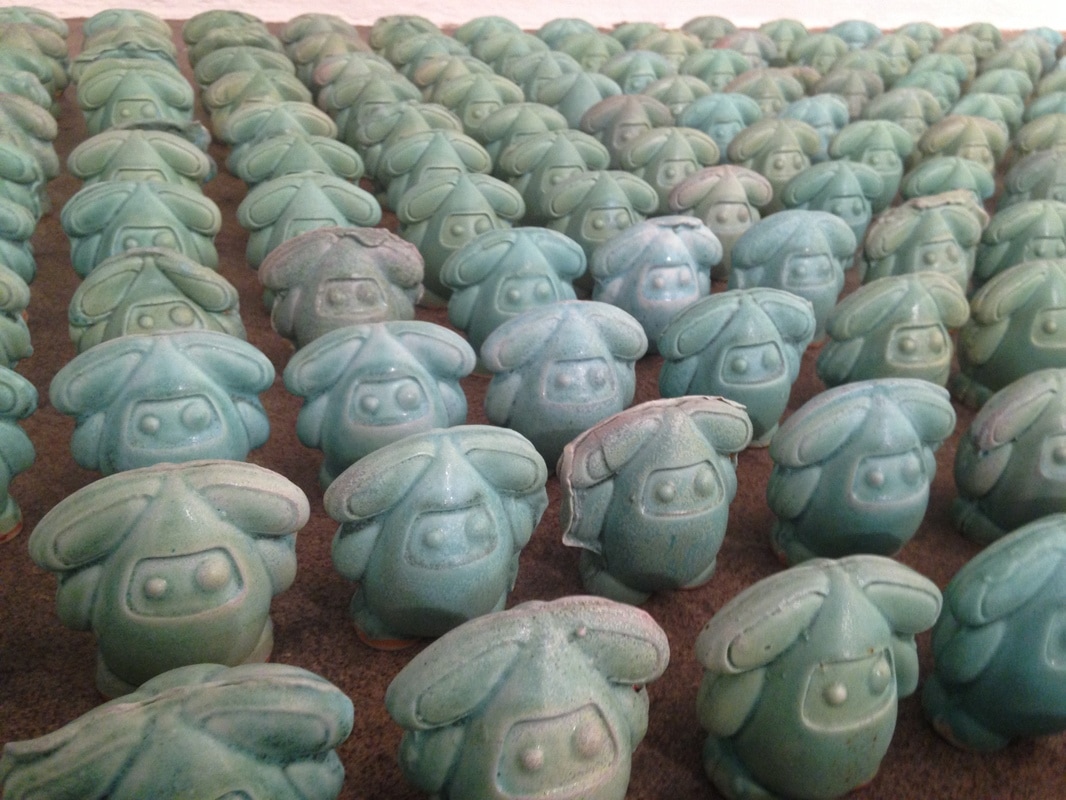
Once you have the multiples, it is your choice what to do with them. They should be glazed though! How will the look displayed together. Arrange them, photograph and post to your Webpage.

|
|
|
|