Welded Rose
Cutting Out the Circles
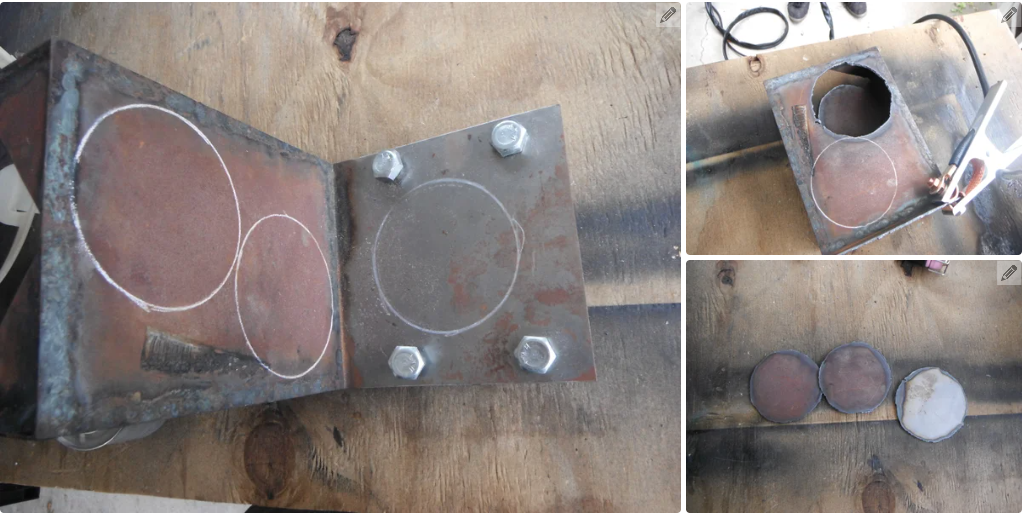
You will need to cut out three circles from your scrap metal.
First you need to mark the circles on to the scrap metal Using a stencil to trace your circles, either a paint can or a roll of tape or anything with a flat edge that is round. After you have your circles drawn, you then proceed to cut them out. Using either a plasma torch or an angle grinder, cut out the circles as round as you can. you will end up with three similar disks. Don't worry about cleaning up the edges that will come later.
First you need to mark the circles on to the scrap metal Using a stencil to trace your circles, either a paint can or a roll of tape or anything with a flat edge that is round. After you have your circles drawn, you then proceed to cut them out. Using either a plasma torch or an angle grinder, cut out the circles as round as you can. you will end up with three similar disks. Don't worry about cleaning up the edges that will come later.
Measuring and Cutting the Petals
For this step you will need your ruler and angle grinder (or plasma torch).
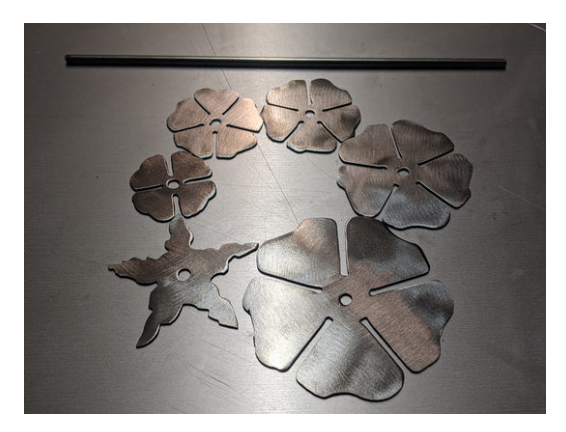
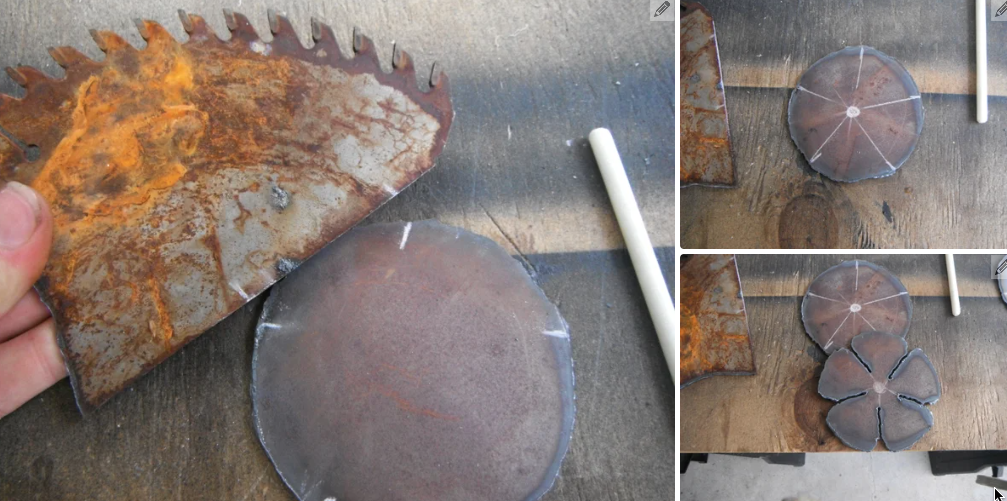
First you must find five points on the perimeter of the disk that are evenly spaced. You can do this several ways. Either take measurements and mark your points, or you could draw a star with the points touching the edge of the disk until it looks right. Either way you choose to do it; you will end up with five marks on the edge of the disk. Now you will draw them all to the middle of the circle until they meet at one point. This means its time for cutting. When your cutting the petals into the disk be sure not to cut all the way down the line, there needs to be enough room for the hole that will be drilled though it.
First you must find five points on the perimeter of the disk that are evenly spaced. You can do this several ways. Either take measurements and mark your points, or you could draw a star with the points touching the edge of the disk until it looks right. Either way you choose to do it; you will end up with five marks on the edge of the disk. Now you will draw them all to the middle of the circle until they meet at one point. This means its time for cutting. When your cutting the petals into the disk be sure not to cut all the way down the line, there needs to be enough room for the hole that will be drilled though it.
Clean Up the Edges
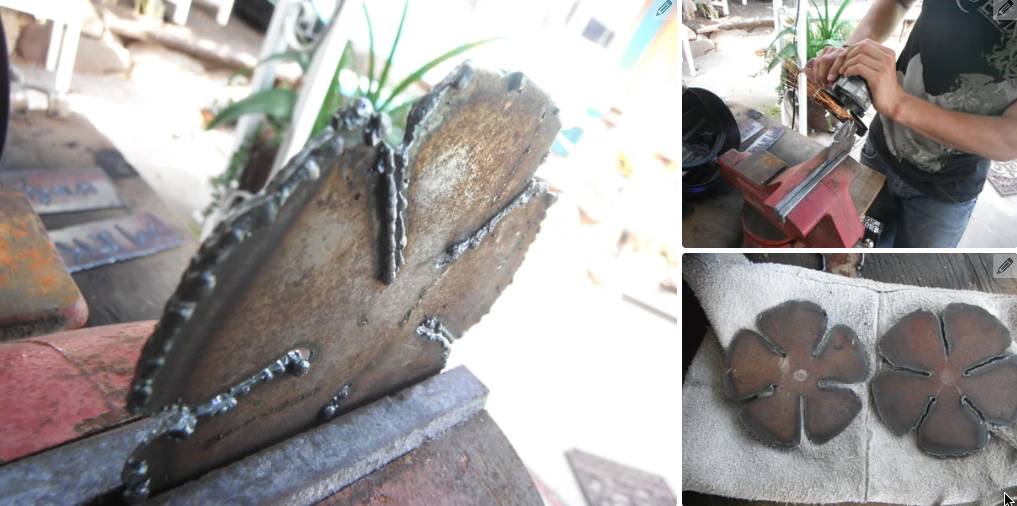
Now that we have the petals cut in, its time to clean up the edges of the disk and to finish shaping the petals. For this you will need your Angle Grinder with the Grinding and Cutting disk. Be sure that the cuts are straight and all the way though the Petals. Run the grinder over the surface of the Petal Disk repeatedly until it is smooth or shiny. Once the disk is smooth, round the sharp corners of the petals. This will make it safer and give it a more realistic petal look. Don't rush yourself on this step. Depending on how well you smooth the petals and round the corners will determine the look of the final product.
Drilling and Welding
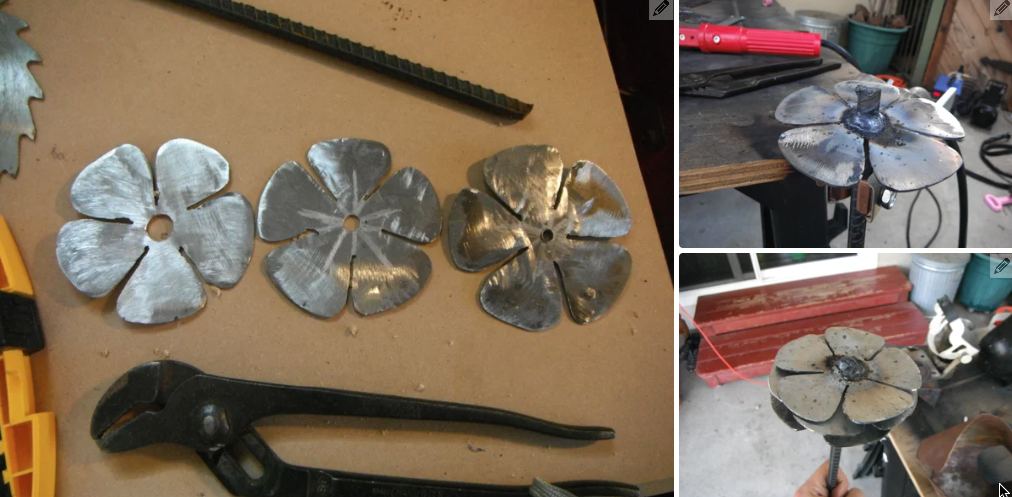
Now we will begin the process of attaching the petals to the stem. For this you will need a Drill Press and an Arc Welder. First make sure the place is marked where you need to drill the hole. When drilling the hole be sure to not use your hand to hold it. Use pliers or a vice or something. If it starts spinning on the drill bit it will slice your hand up. Also be sure to drill a small hole to start the process. Then work your way up in Drill Bit sizes until you have the size hole you want. Once all three holes are drilled, take it to the welder. You will weld them from the top of the petals so the next set of petals will sit on the previous weld. This is all the spacing that you will need for it to look good. Be sure to weld the petals so the cuts don't line up or else it wont look like a rose when its finished. A good rule of thumb is to rotate the next disk so the cuts are 1/3 of the way past the previous cut. Remember to check that each weld is a good one before continuing onto the next one.
Heating and Shaping
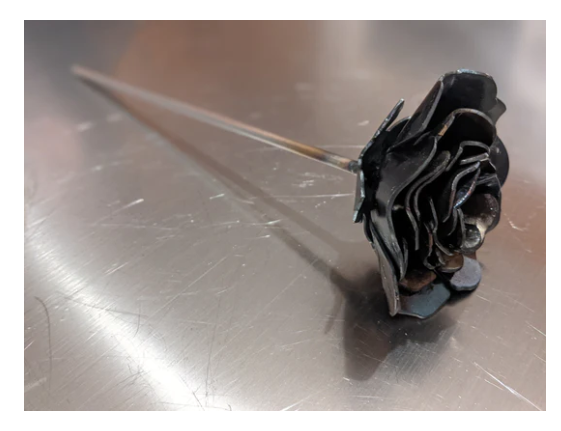
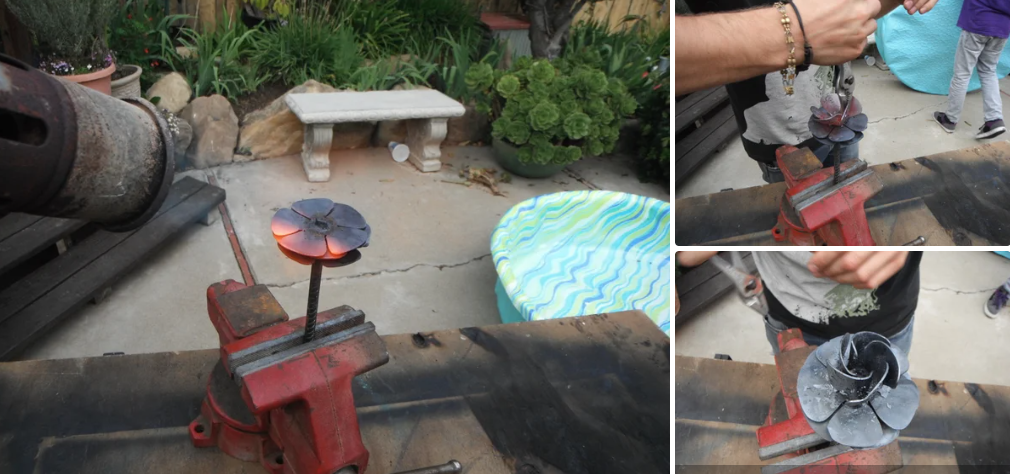
Now its time for the Final Step. For this you will need a Propane Torch and Pliers or you could use the forge. Heat the Petals so that they are red hot. be sure not to burn yourself on them, never reach over the top of them. they must be bent in a pattern or else they wont look right. One side of the petal should lay on the inside of another while the other half of the petal is covering the one next to it. Keep the top petals tight so you have enough room for the other petals can be folded up with enough room. it will take several heating's to bend all the petals. Once you're done folding the petals up, get creative with them. Organic things are never symmetrical. After your happy with your new Rose clean out the flakes of metal from the inside and quench the metal by spraying it with the water hose. The rest is up to you. You can paint it, or leave it as is. You could even make a vine of them. Turn them into art.
