SVHS ART & CAREER TECH
Mr. Anderson's Classes
  • Metals
    • Setting Up your Weebly >
      • Sample Bio 1
      • Sample Bio 2
      • Turn in your work
    • How to Read a Tape Measure
    • Technical Drawings & Material Lists
    • Shop Safety
    • What is Metal?
    • Welding >
      • Types of Welds & Joints
      • Welding Exercises
      • Scrap Metal Sculptures
      • Welded Rose
      • Candle Holder
      • Garden Art
      • Rocket Stove
    • Sheet Metal Tool Caddy
    • Wrought Iron Trivet
    • Copper Cuffs
    • Blacksmithing >
      • Horseshoe Set
    • Sandcasting
    • Lathe & Mill Operation & Safety >
      • Winestopper
      • Milling Aluminum Dice
    • Lost Wax Casting
    • Lampworking (Glassblowing)
  • 3D Design
    • Setting Up your Weebly >
      • Documenting Artwork
      • Turning in your work
    • Sketchbook Cover
    • Research Artist Page Example >
      • Editing Twitter Template
      • Embedding on Weebly
      • Timeline Examples
      • Places to find information on Artists
    • Plates
    • Pottery : Bowls
    • Mugs
    • Shrunken Heads
    • Totem Poles
    • Fabric Monsters
    • Cardboard Sculpture
    • Tea set
    • Busts
    • Environmental Art
  • AP Art
    • Summer Assignment
    • Setting Up your Weebly >
      • Turning in your weebly to goole classroom
      • Sample Bio Page
      • Documenting Artwork

Plates


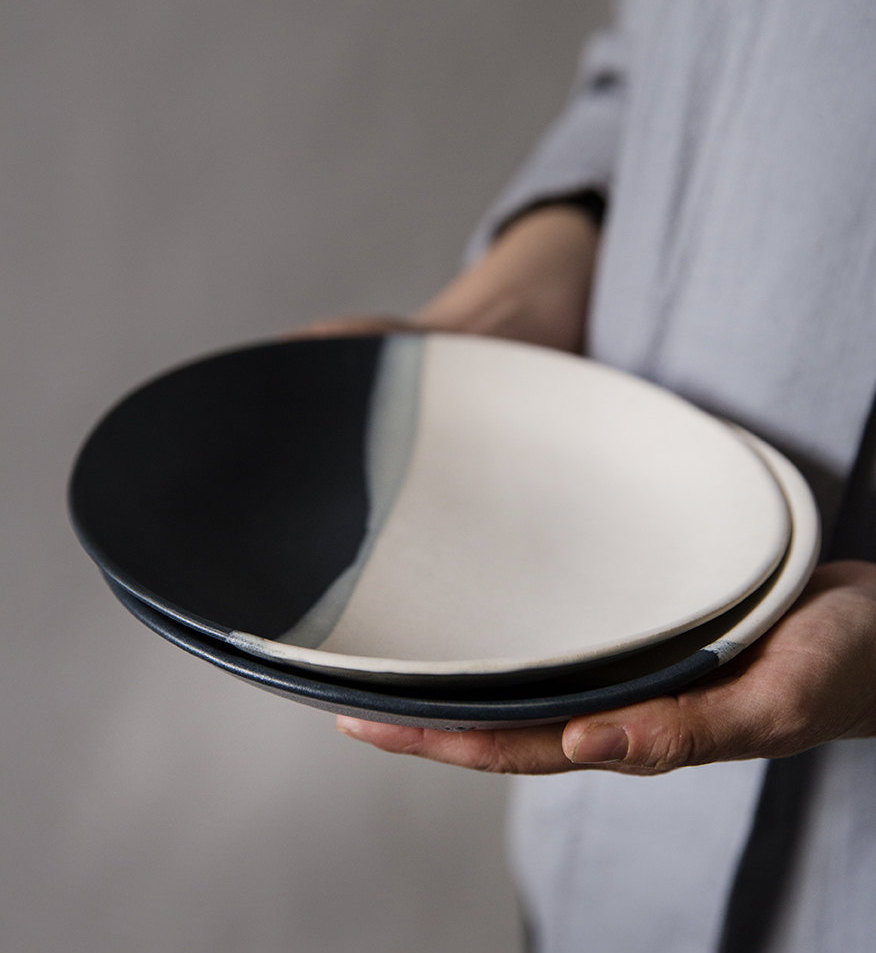
You are going to create two plates.

You will be graded on if your set looks like a set. Do they look like they belong together, or do they just look awkward. So choose wisely on your color schemes and designs.

With the production  of your dishes, you will learn all the basic forms of construction in the medium of ceramics.


Picture

How to make your plate?  You ask....

Picture
Picture
Picture
Well, you got two choices.

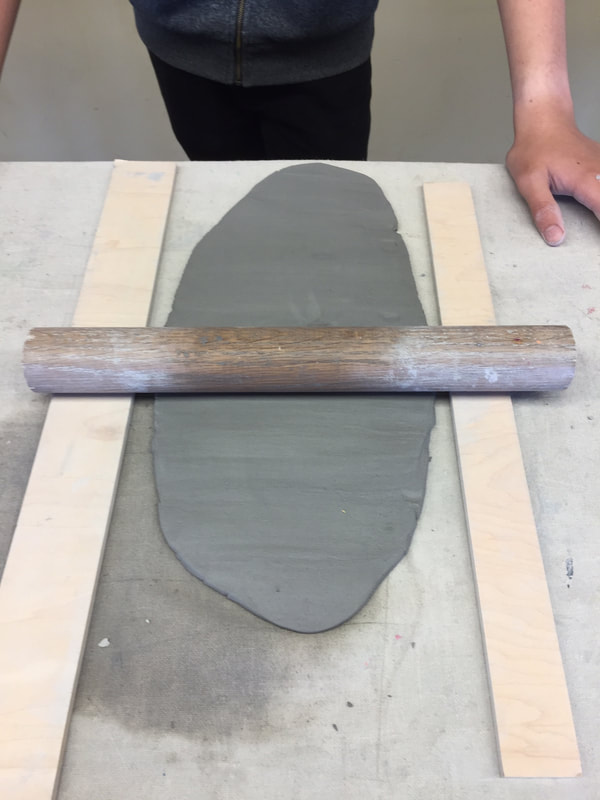
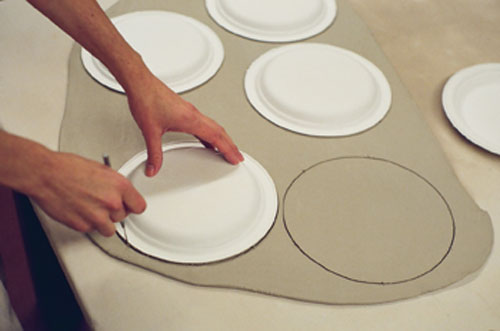
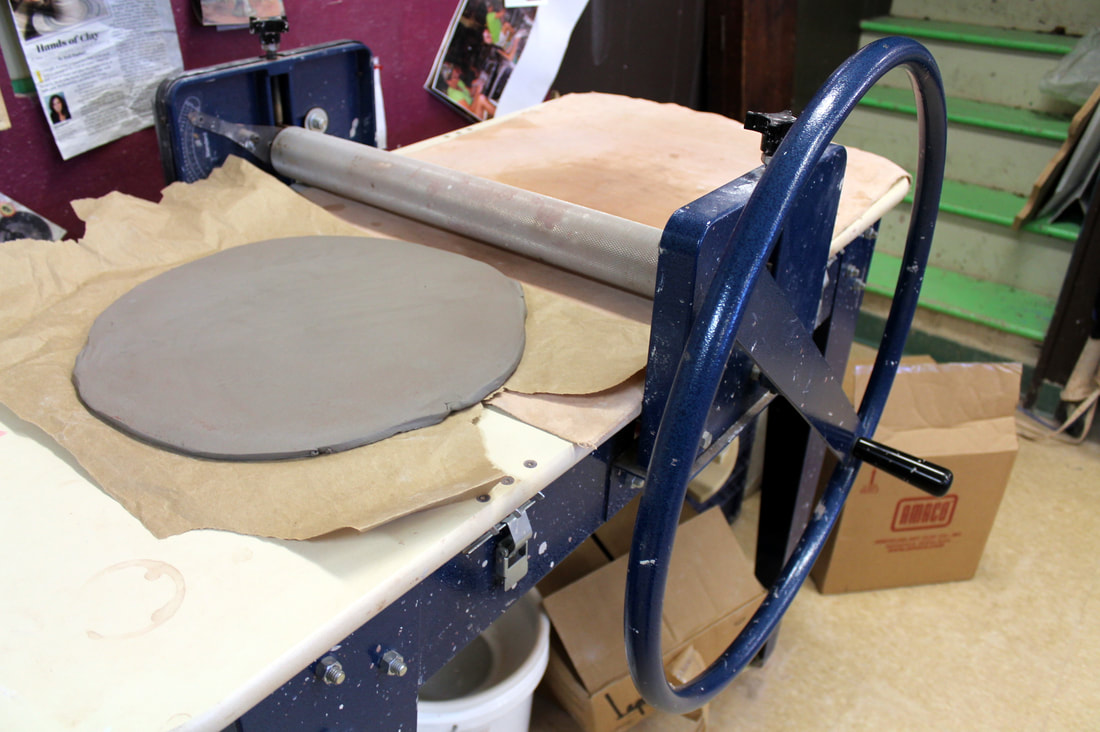
You can do it the old fashioned way with two sticks and a roller.

or

You can use the slab roller.

After making your slab, you can use a paper plate as a template. You will then use a pin tool.
Picture
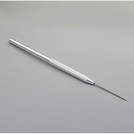
To cut around the plate to make a circle.
Then you can place your clay plate in the paper plate to help form a lip to your plate.
Bag it and let it get leather hard.
Picture

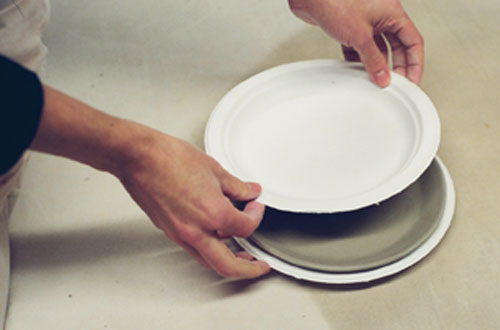
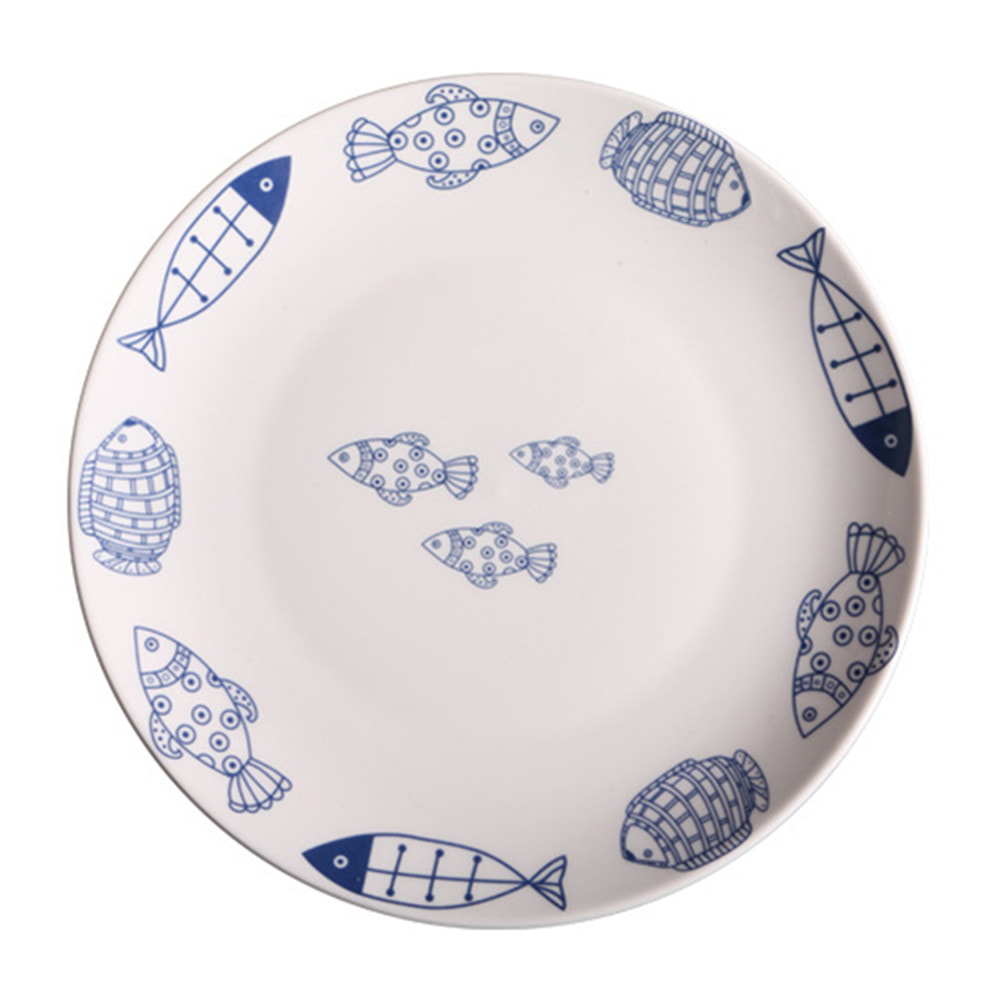
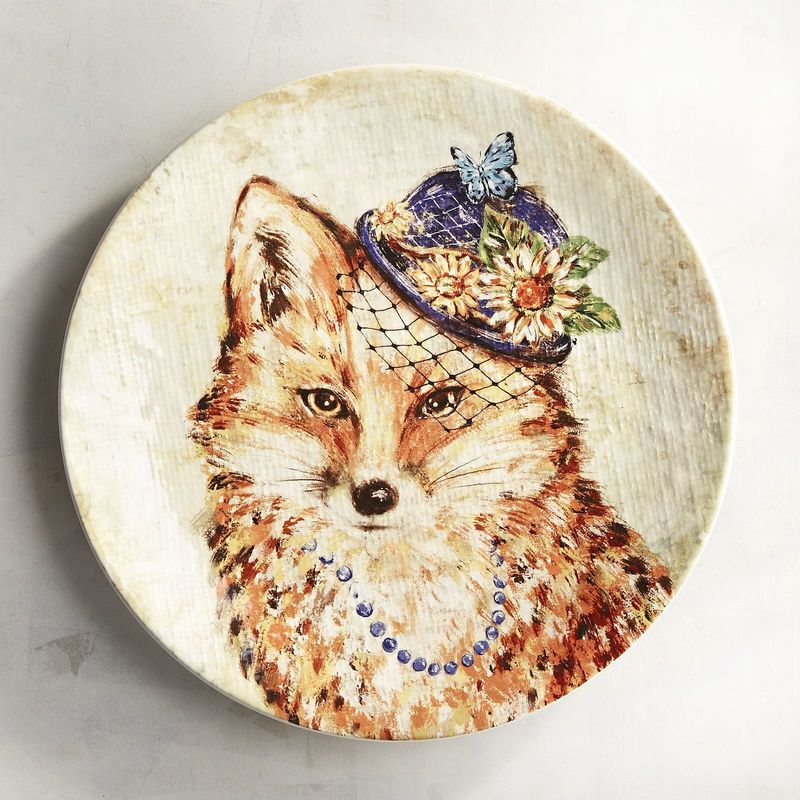
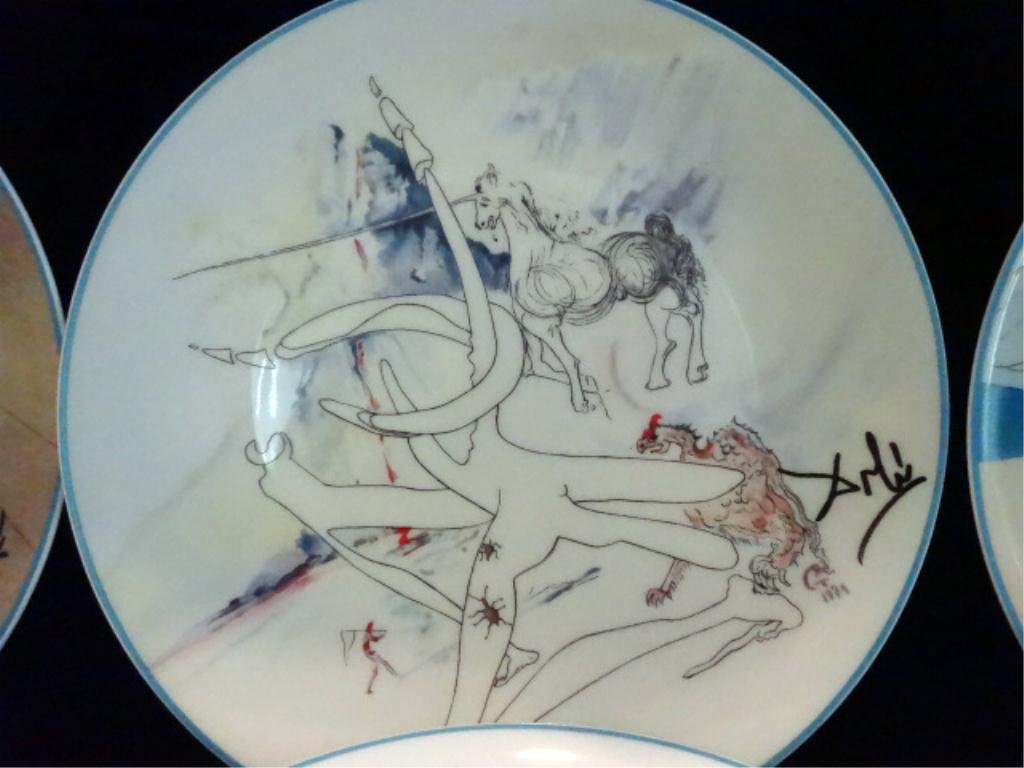
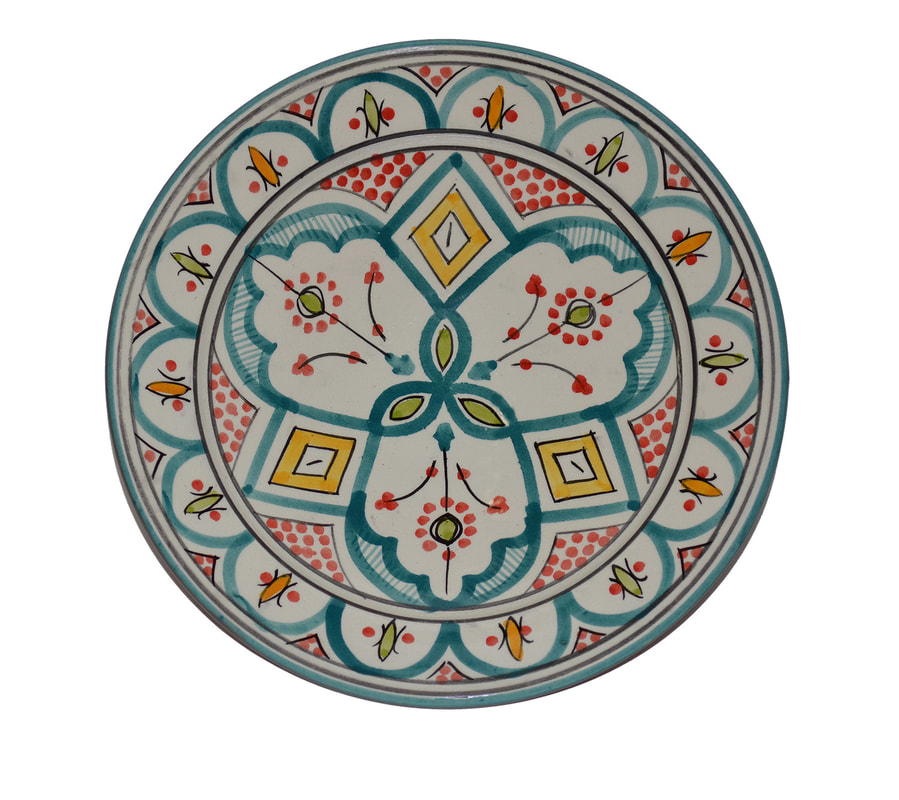
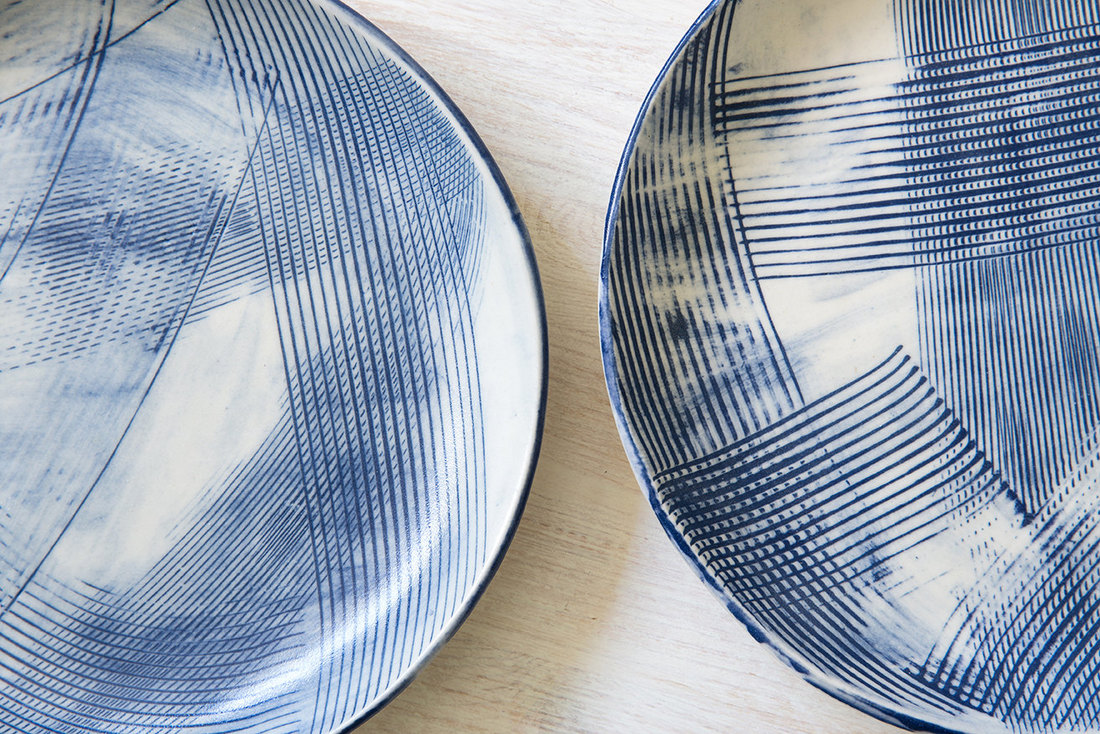
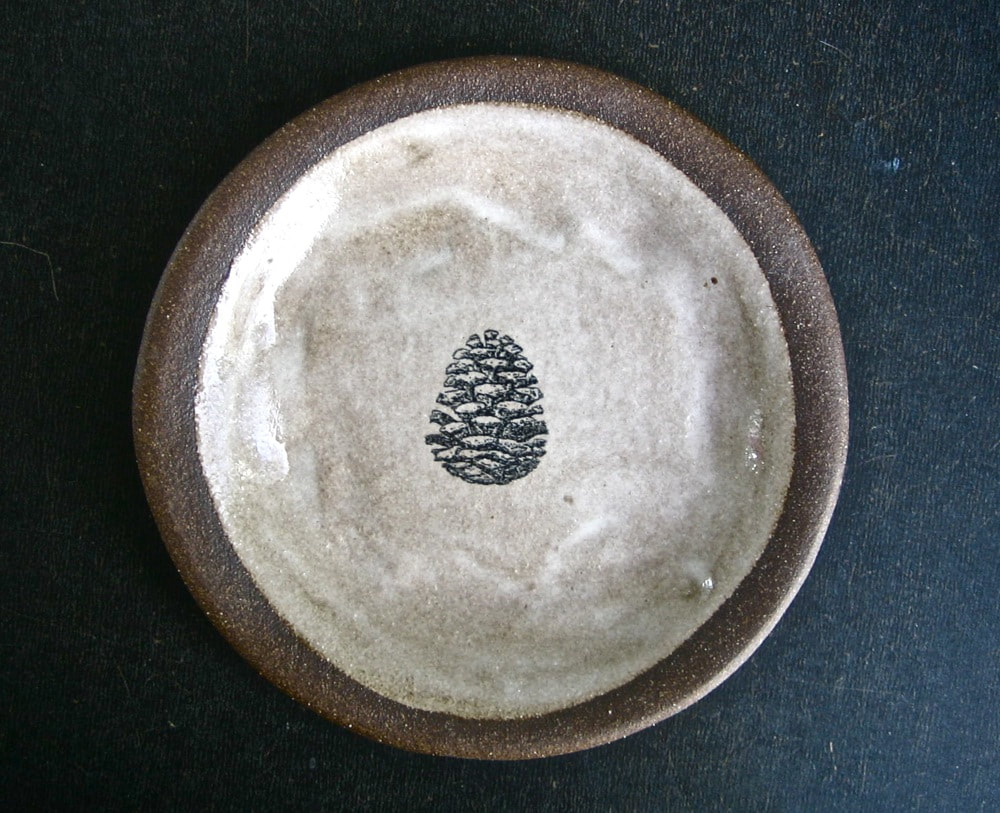
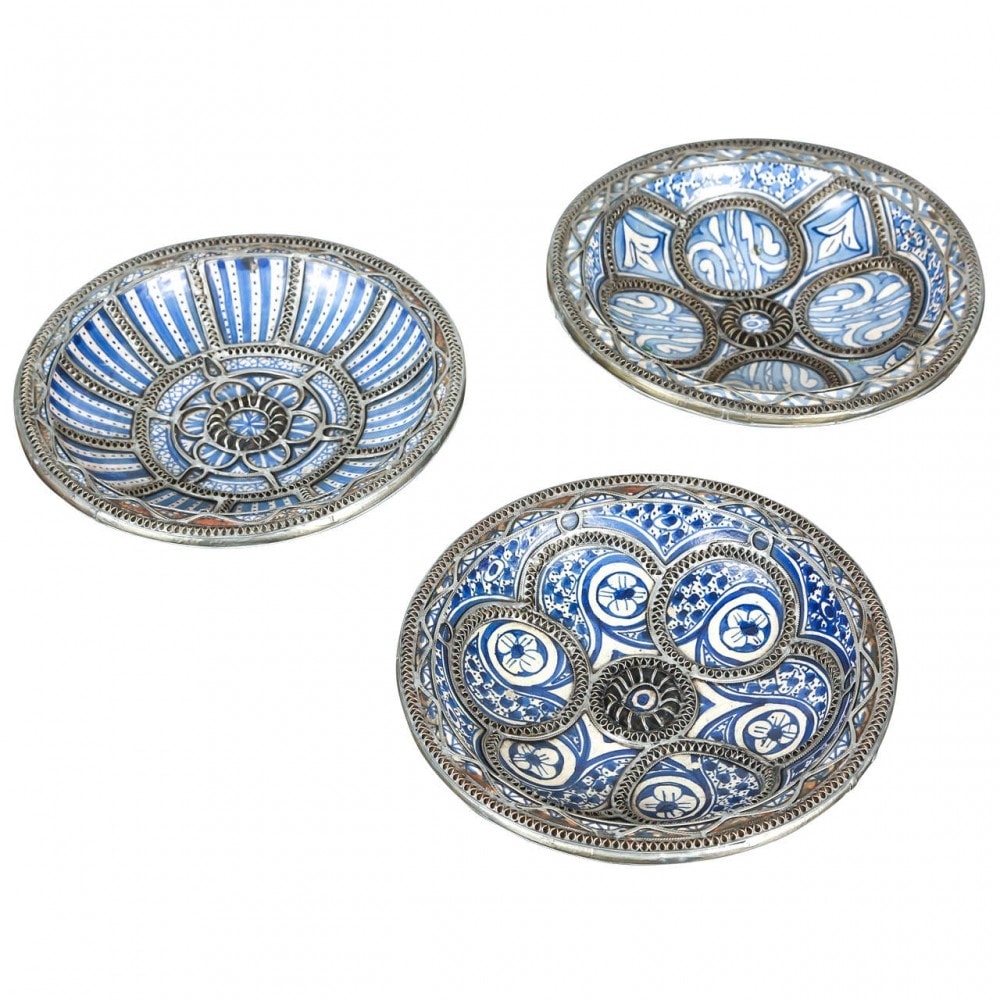
Now it is time to start thinking about, how you want to decorate your plate....

In order to decorate your plates we will be using underglazes while the clay is still green and leather hard.

Underglazes are basically dyed liquid clays. They are not glazes!

Remember you are going to have to coordinate your designs, so choose color schemes and designs carefully so it is something you want to continue to work with.

Once you have painted your designs, we will bisque fire your plates.

We will then clear glaze them and fire them again, so you can use them.

​Remember you should always handwash your custom plate, dishwashers may break them.
Picture

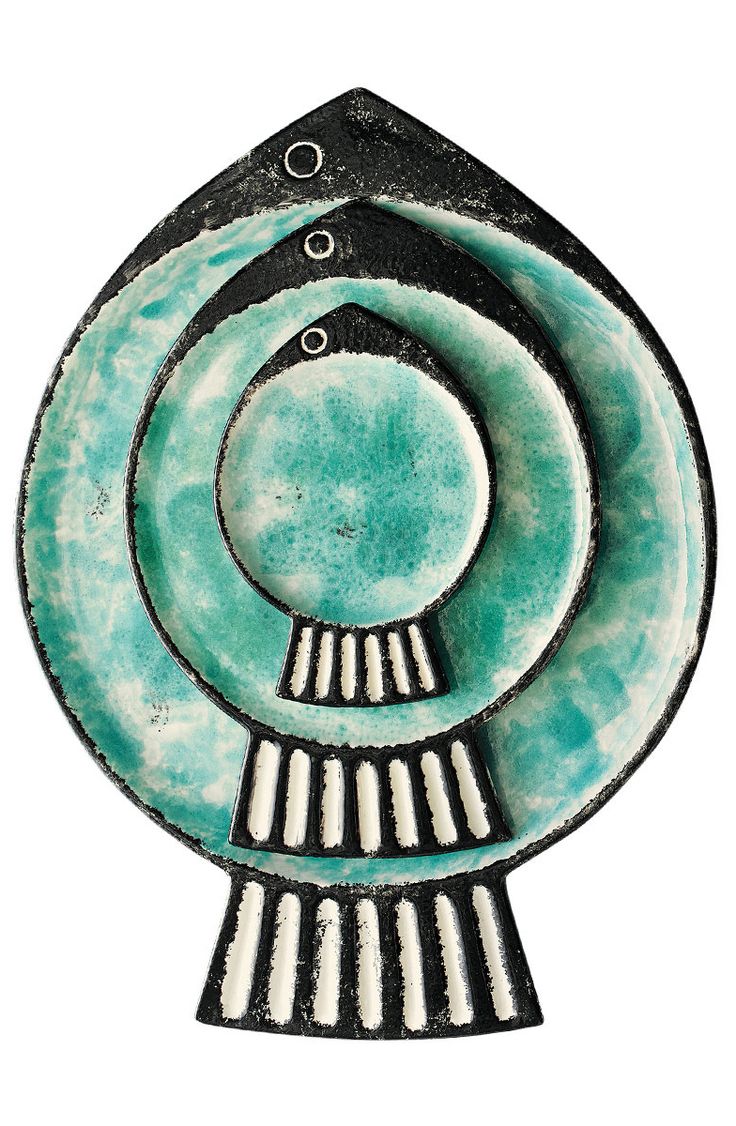
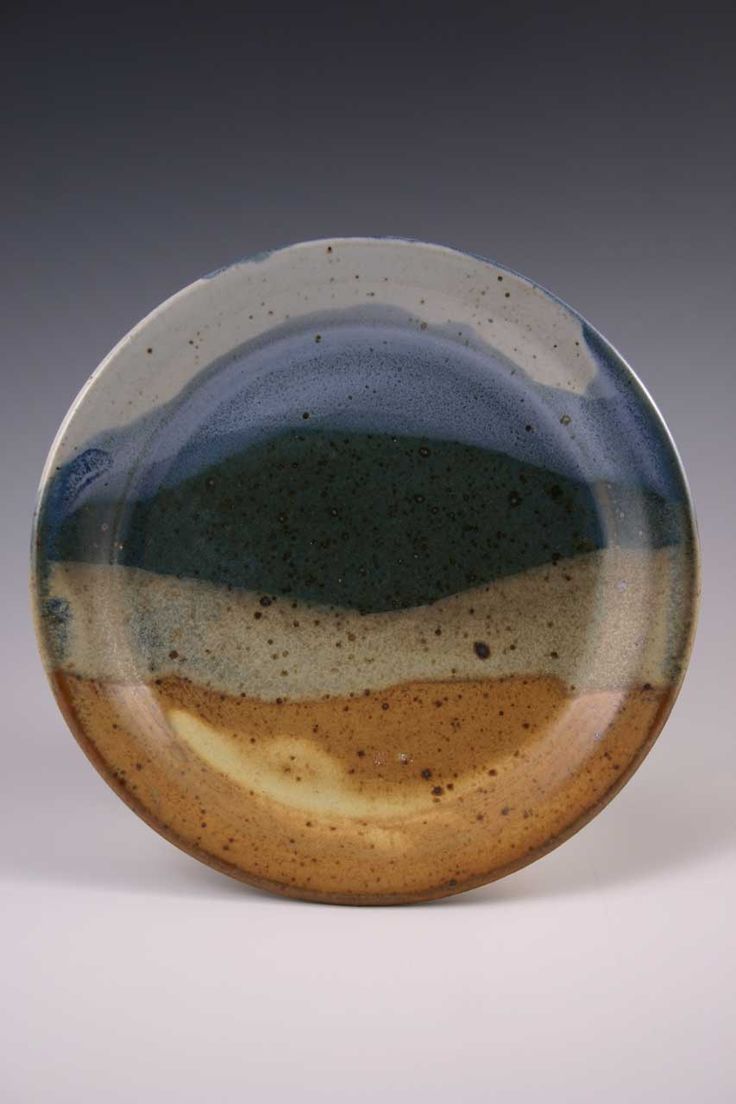
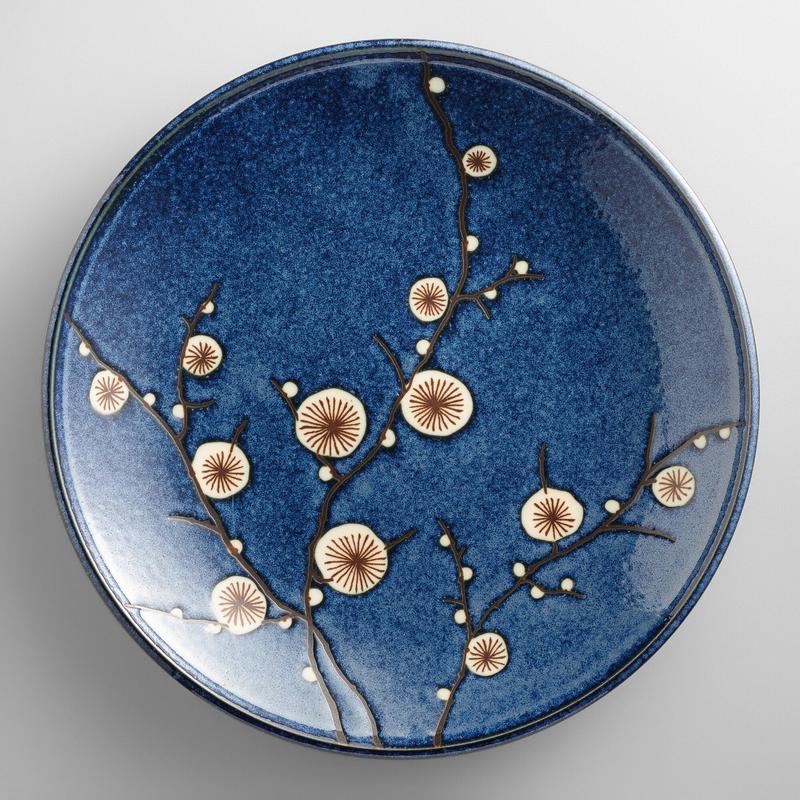
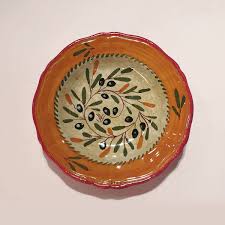
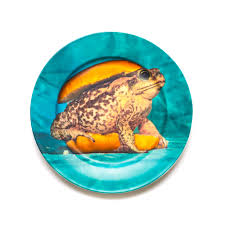
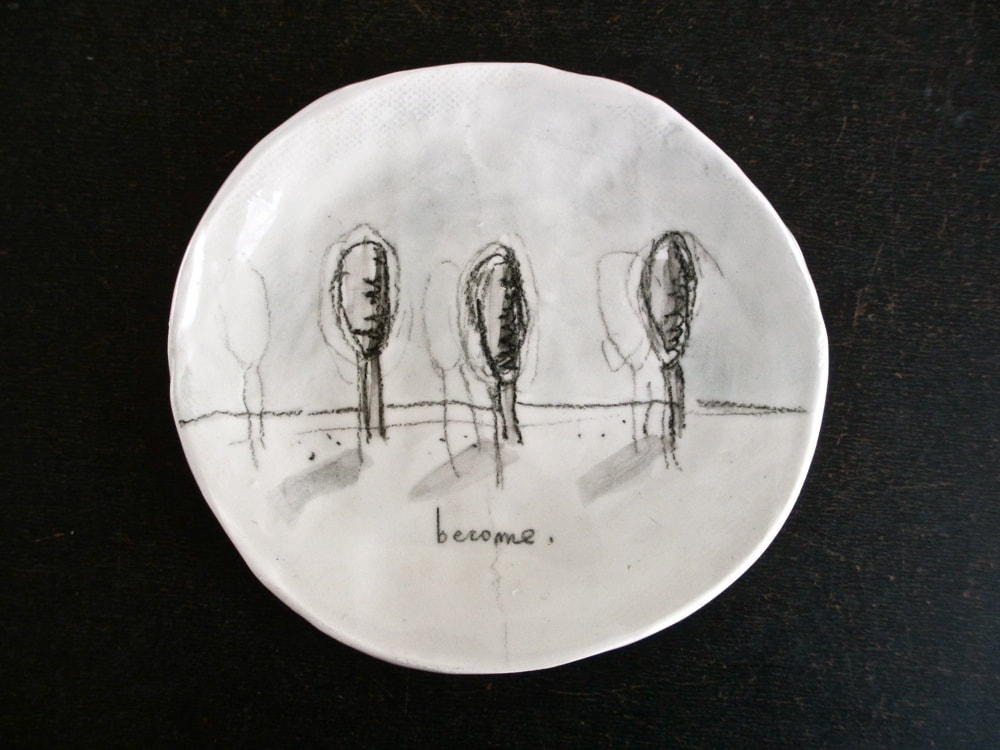
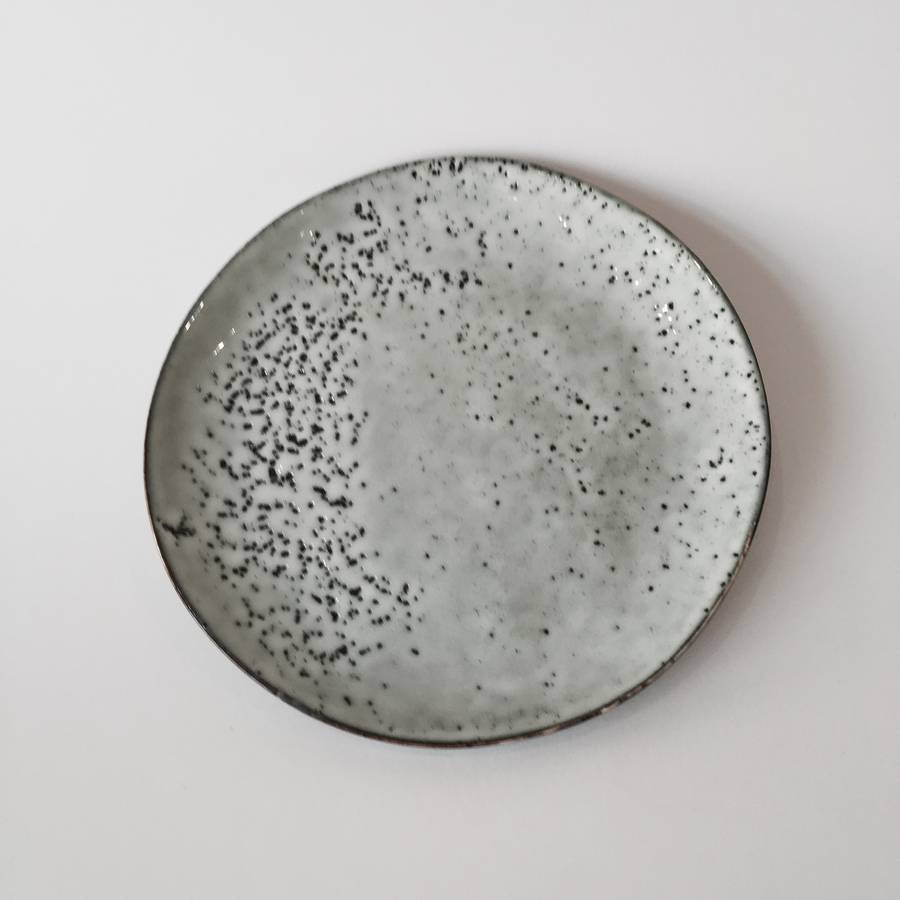
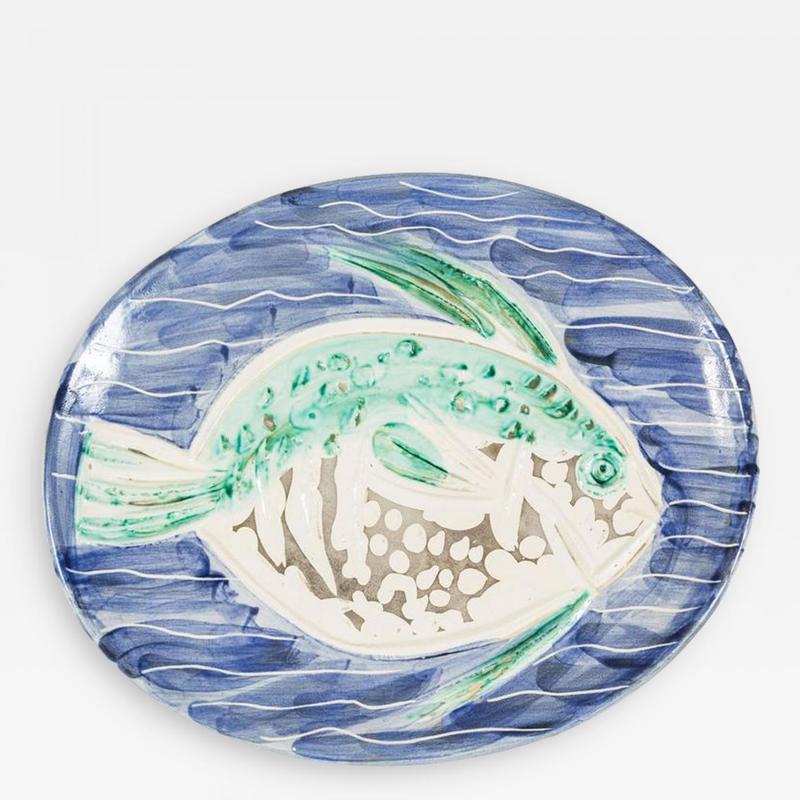
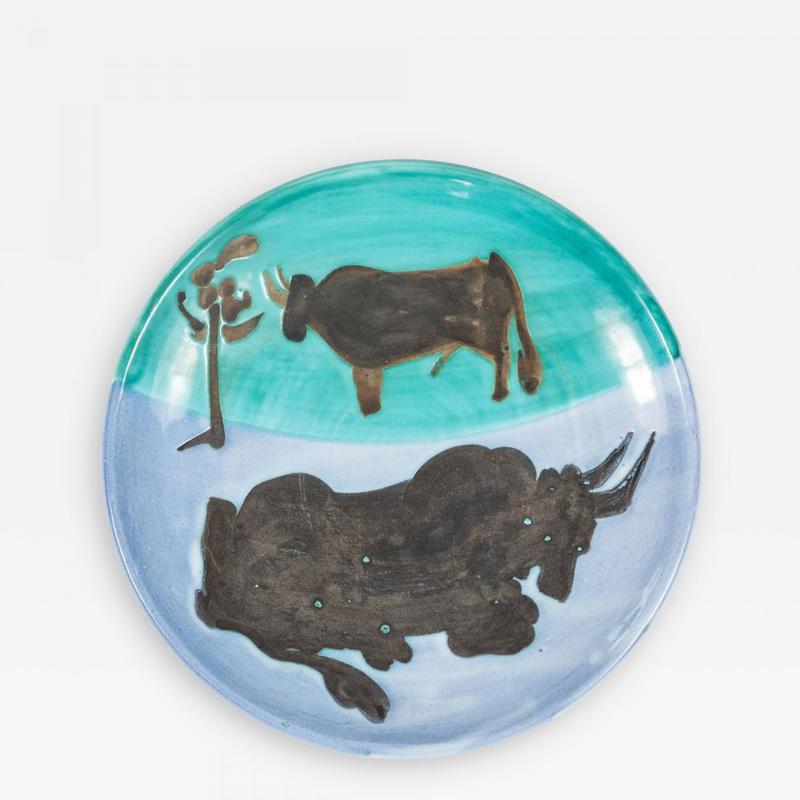
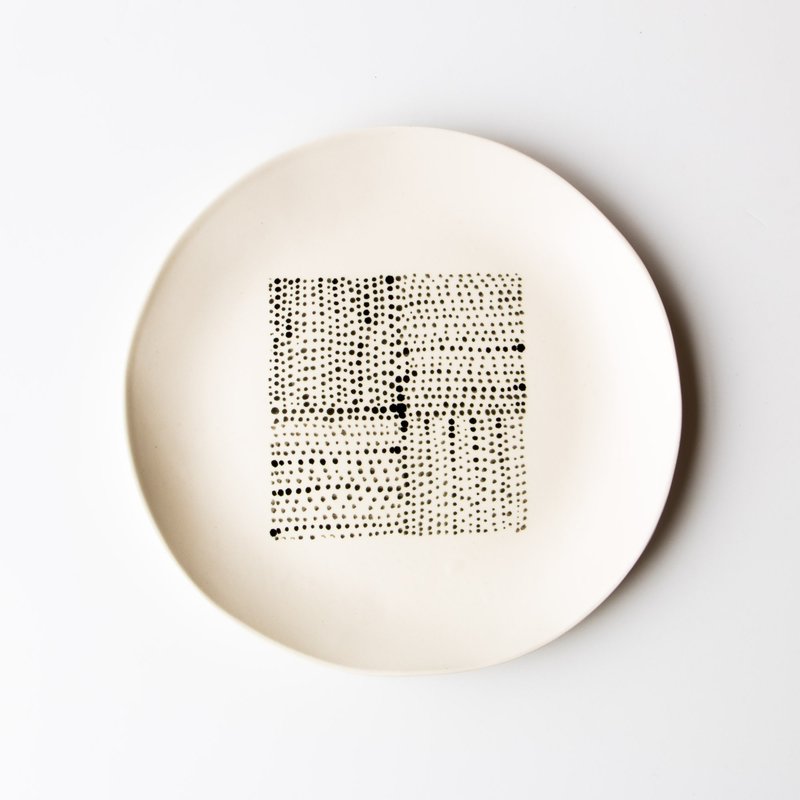
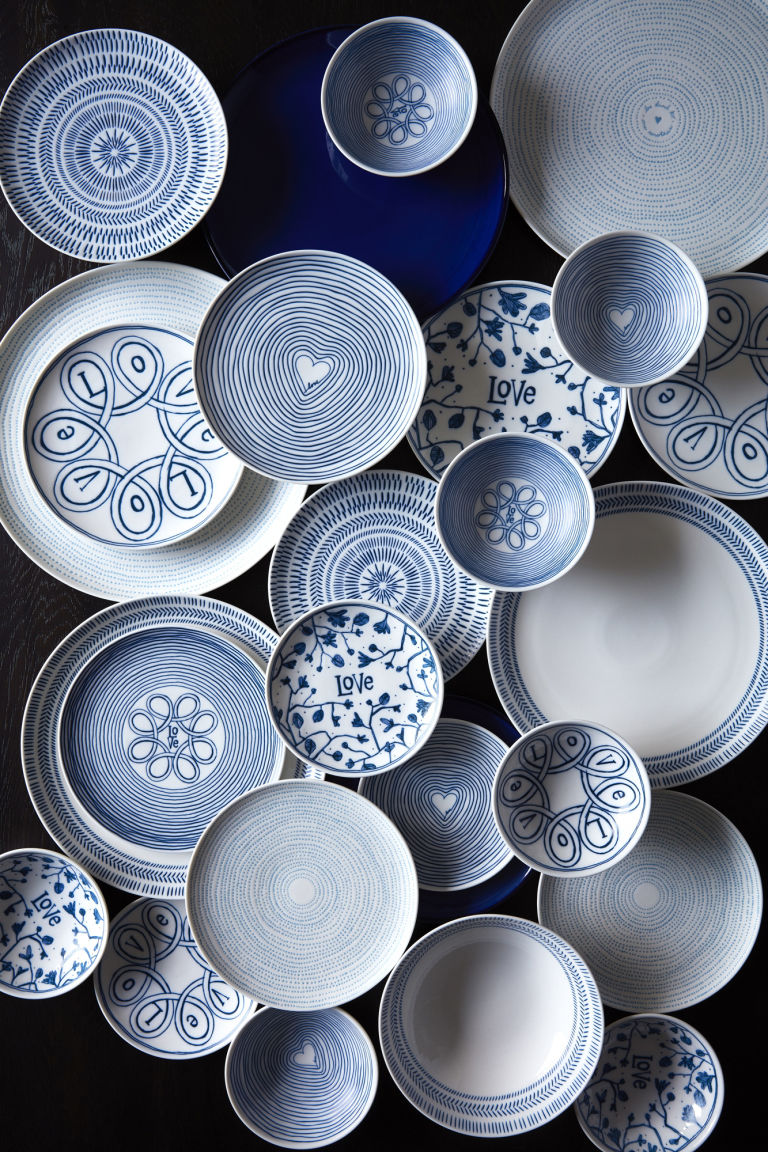
Examples to help you.....

More Plates on Pinterest

Pinterest
Proudly powered by Weebly